Templates
Templates are screen layouts that allow you to define one or more areas to place Media Items when creating a Playlist.
- A Template is made up of two elements; a Canvas and a Window.
- A Canvas allows you to define the size of a layout. All values are in Pixels (px).
- A Window allows you to define the size of an area within a Canvas. All values are in Pixels (px).
When you first open your Client Network, you’ll be provided with a list of Templates for basic screen sizes.
Create a Template (Single Window)
To create a Template, follow these steps:
- Click the + New button at the bottom of the Template Library.
- A new Settings panel will open, and you’ll be able to configure your Template.
- Name your Template.
- Type in the width and height of the Canvas.
- Next, click the + icon in the Windows panel to add a Window to the Canvas.
- Name your Window.
- Type in the width and height of the Window.
- Type in the x and y coordinates of your Window. These coordinates tell a screen or device where to place the Window.
- Once you're finished, click the Save button.
- Your Template will now be added to the Template Library.
When placing the x and y coordinates for your Window, please note that the top left-hand corner is set to 0px, 0px.
Create a Template (Multi-Window)
Multi-Window Templates are used for advanced screen setups such as video walls, picture-in-picture and L-wraps.
To create a multi-Window Template, follow these steps:
- Click the + New button at the bottom of the Template Library.
- A new Settings panel will open, and you’ll be able to configure your Template.
- Name your Template.
- Type in the width and height of the canvas.
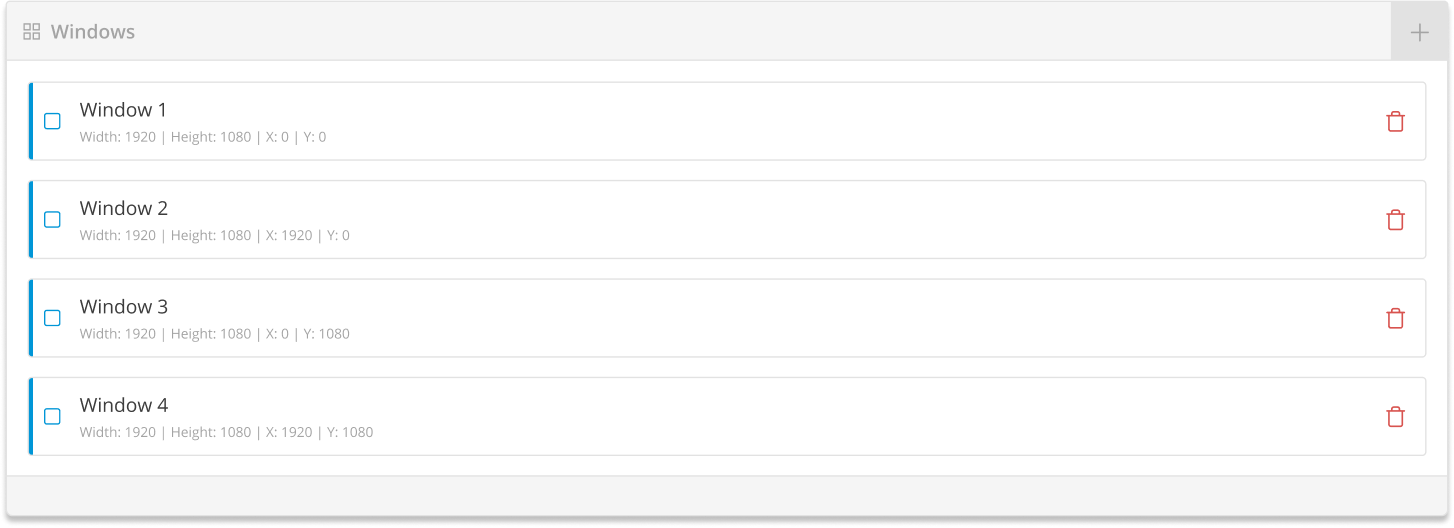
- Next, click the + icon in the Windows panel to add a Window to the canvas.
- Name your Window.
- Type in the width and height of the Window.
- Type in the x and y coordinates.
- To go back and add another Window, click the Windows breadcrumb at the top of the panel.
- Next, click on the + icon in the Windows panel and repeat steps 6 to 9.
- Once you’ve finished creating your Template, click the Save button.
- Your Template will now be added to the Template Library.
Update an Existing Template
To update an existing Template, follow these steps:
- Click on a Template to open the Settings panel.
- Rename your Template.
- Change the Canvas sizes.
- To update a Window, click on a Window entry.
- Next, rename the Window.
- Edit the width and height or the x and y coordinates.
- To go back and edit another Window, click the Windows breadcrumb at the top of the panel.
- Once you’ve finished creating your Template, click the Save button. To cancel the changes, click the Revert button.
- Your Template will now be updated with the latest changes.
If your Template is currently in use, the Canvas and Window settings can be updated, but cannot be deleted. Updating a Template will affect the Playlists that are currently using the Template.
Delete a Template
To delete a Template, follow these steps:
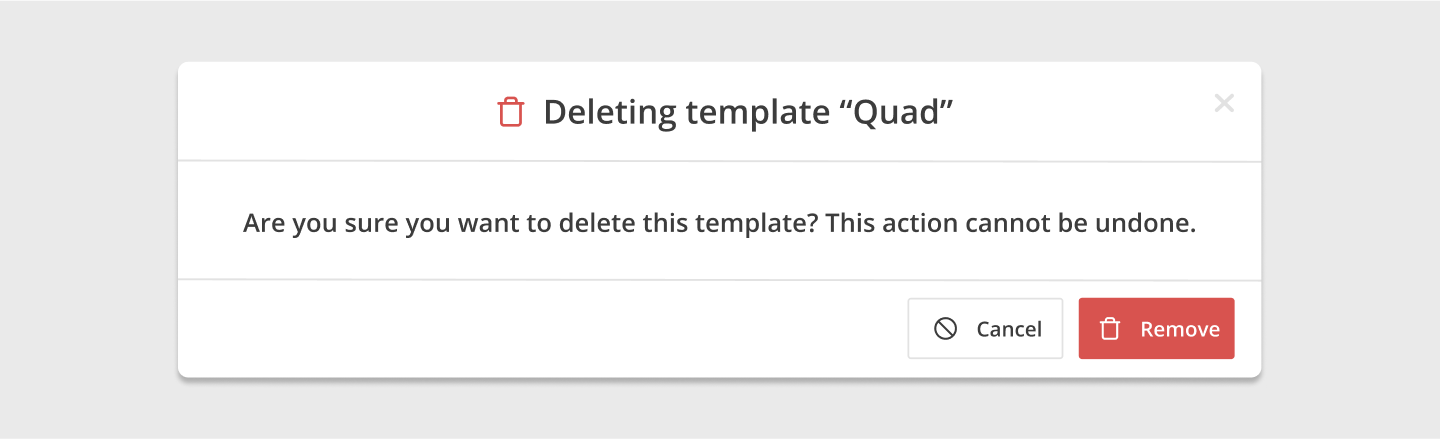
- Click on a Template to open the settings panel.
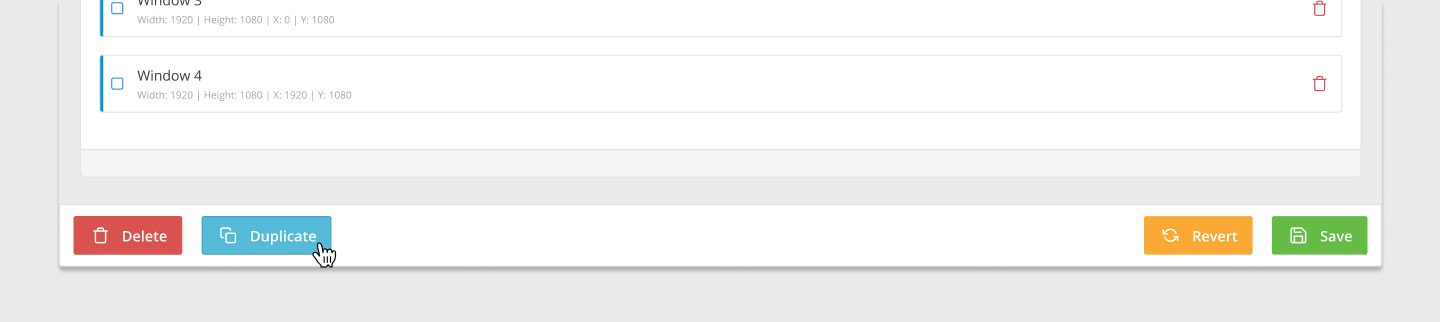
- Click the Delete button at the bottom left-hand corner.
- Your Template will now be deleted.
If your Template is currently in use, it will not be deleted. All playlists using the Template will have to be removed first and then you'll be able to delete the Template.
Duplicate a Template
To duplicate a Template, follow these steps:
- Click on a Template to open the Settings panel.
- Click the Duplicate button at the bottom left-hand corner.
- A new Template entry will be created.
- Rename your Template.
- Change the Canvas sizes.
- To update a Window, click on a Window entry.
- Next, rename the Window.
- Edit the width and height or the x and y coordinates.
- To go back and edit another Window, click the Windows breadcrumb at the top of the panel.
- Once you’ve finished creating your Template, click the Save button. To cancel the changes, click the Revert button.
- Your Template will now be added to the Template Library as a new entry.