Create a Channel
To create a Channel, follow these steps:
- Click on the + New button at the bottom of the Channel Library.
- A new panel will open and will display the Channel Settings panel.
- Give your Channel a name.
- Toggle Eco-Mode On or Off.
- Click the Save button.
- Your Channel will now appear in the Channel Library.
Add a Schedule to a Channel
To add a Schedule to your Channel, follow these steps:
- Click on the + icon on the Channel Entries
- The Schedule Settings panel and Playlist Library will automatically open.
- Select a Playlist from the list to add to your Schedule.
- In the Schedule Settings Panel, you can:
- Add a Start and End Date.
- Add a Start and End Time.
- Select what Day(s) you want your Schedule to play on.
- Add any Comments.
- To go back to the Channel Entry panel, click on the word Entries at the top of the Schedule Settings panel.
- To add another Schedule, click on the + icon.
- To rearrange the Schedule, click and drag the Move icon on the left-hand side of the Channel entry.
- To remove the Schedule, click on the Trash icon on the right-hand side of the Channel entry.
- Click the Save button.
- Your Channel will now be updated with the latest changes.
Edit a Channel
To edit a Channel, follow these steps:
- Click on a Channel to open the Settings panel.
- Rename your Channel.
- Toggle Eco-Mode On or Off (if required).
- Make changes to the Schedule(s).
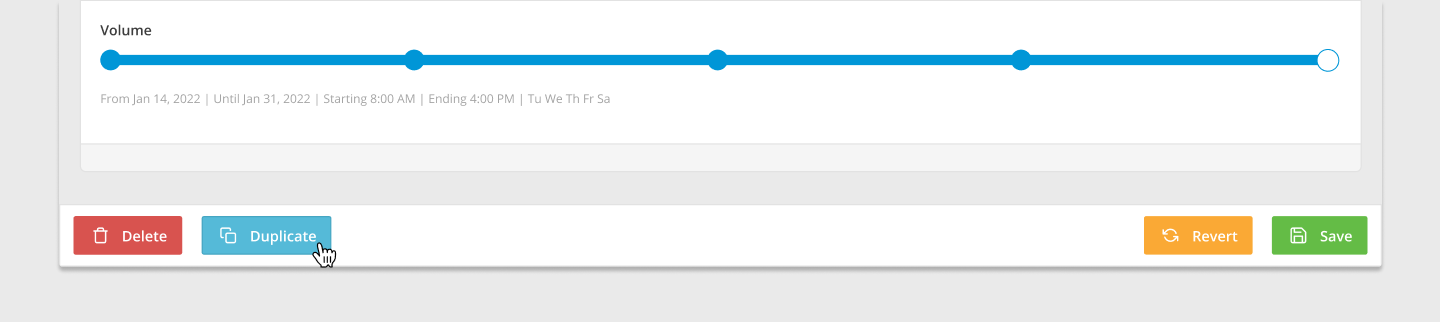
- Once you’ve finished editing your Channel, click the Save button or to cancel the changes, click the Revert button.
- Your Channel will now be updated with the latest changes.
Delete a Channel
To delete a Channel, follow these steps:
- Click on a Channel to open the Settings panel.
- Click the Delete button at the bottom left-hand corner.
- Your Channel will now be deleted.
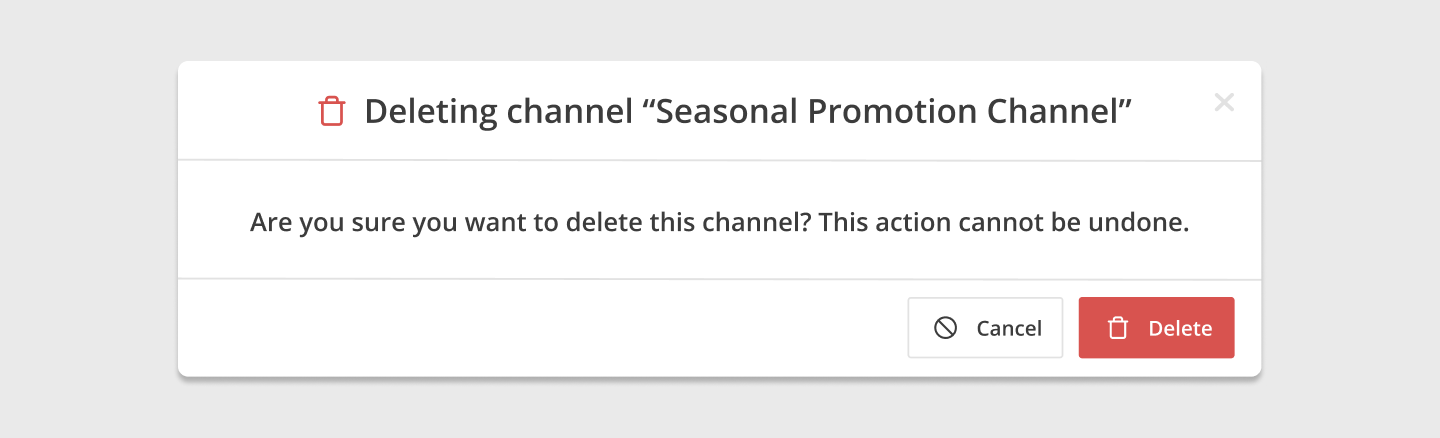
If your Channel is in use, it will not be deleted. The Channel will need to be removed from all Screens to be able to delete it.
Duplicate a Channel
To duplicate a Channel, follow these steps:
- Click on a Channel to open the Settings panel.
- Click the Duplicate button at the bottom left-hand corner.
- A new Channel entry will be created.
- Rename your Channel.
- Make changes to the Schedule(s).
- Once you’ve finished editing your Channel, click the Save button. To cancel the changes, click the Revert button.
- Your Channel will now be added to the Channel Library as a new entry.